Knitting Tubular Cast On
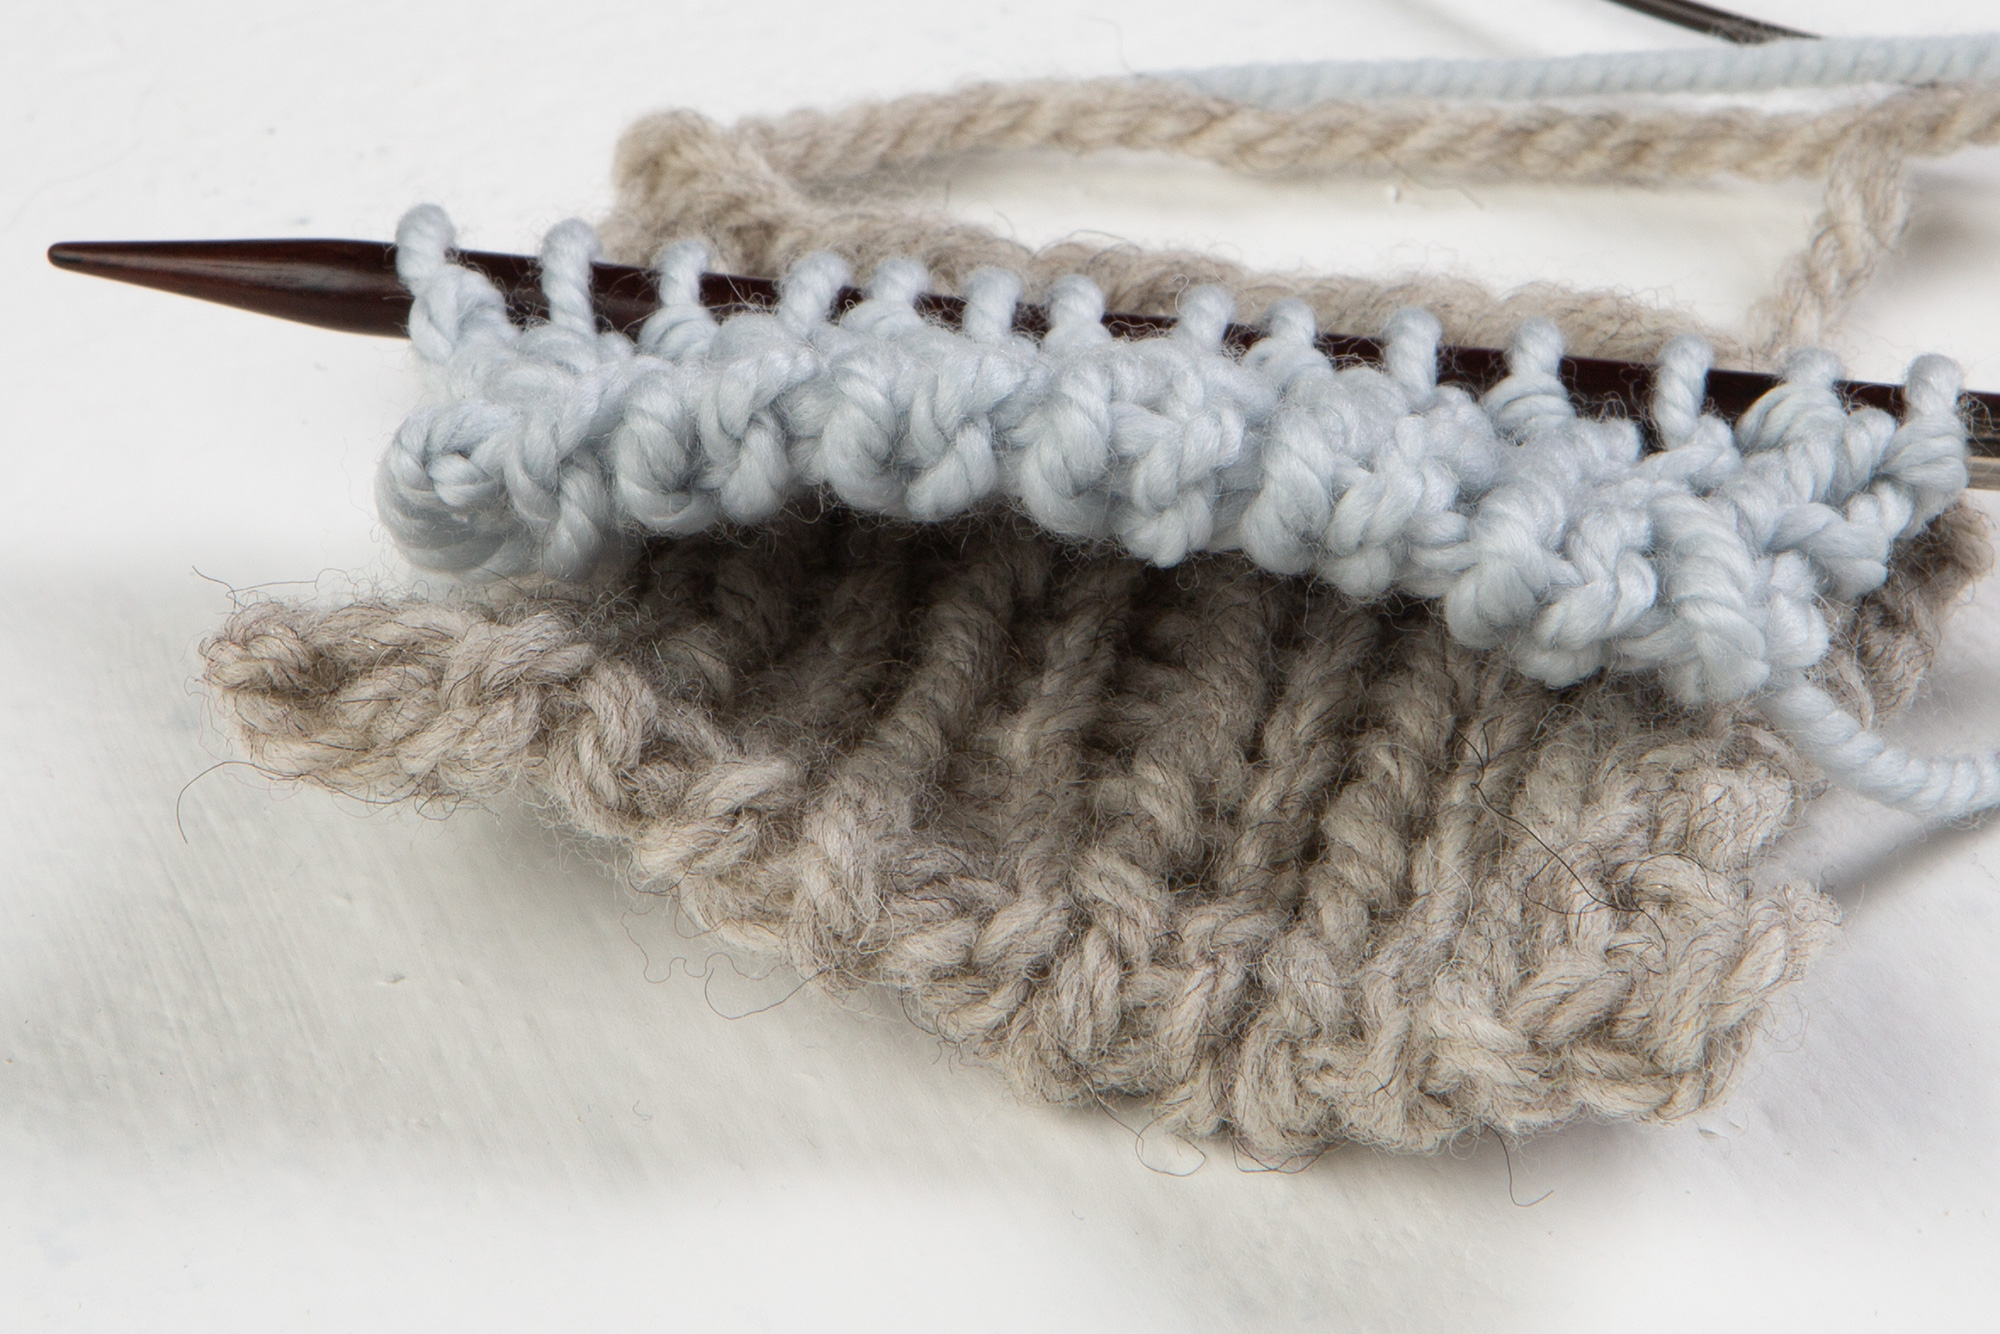
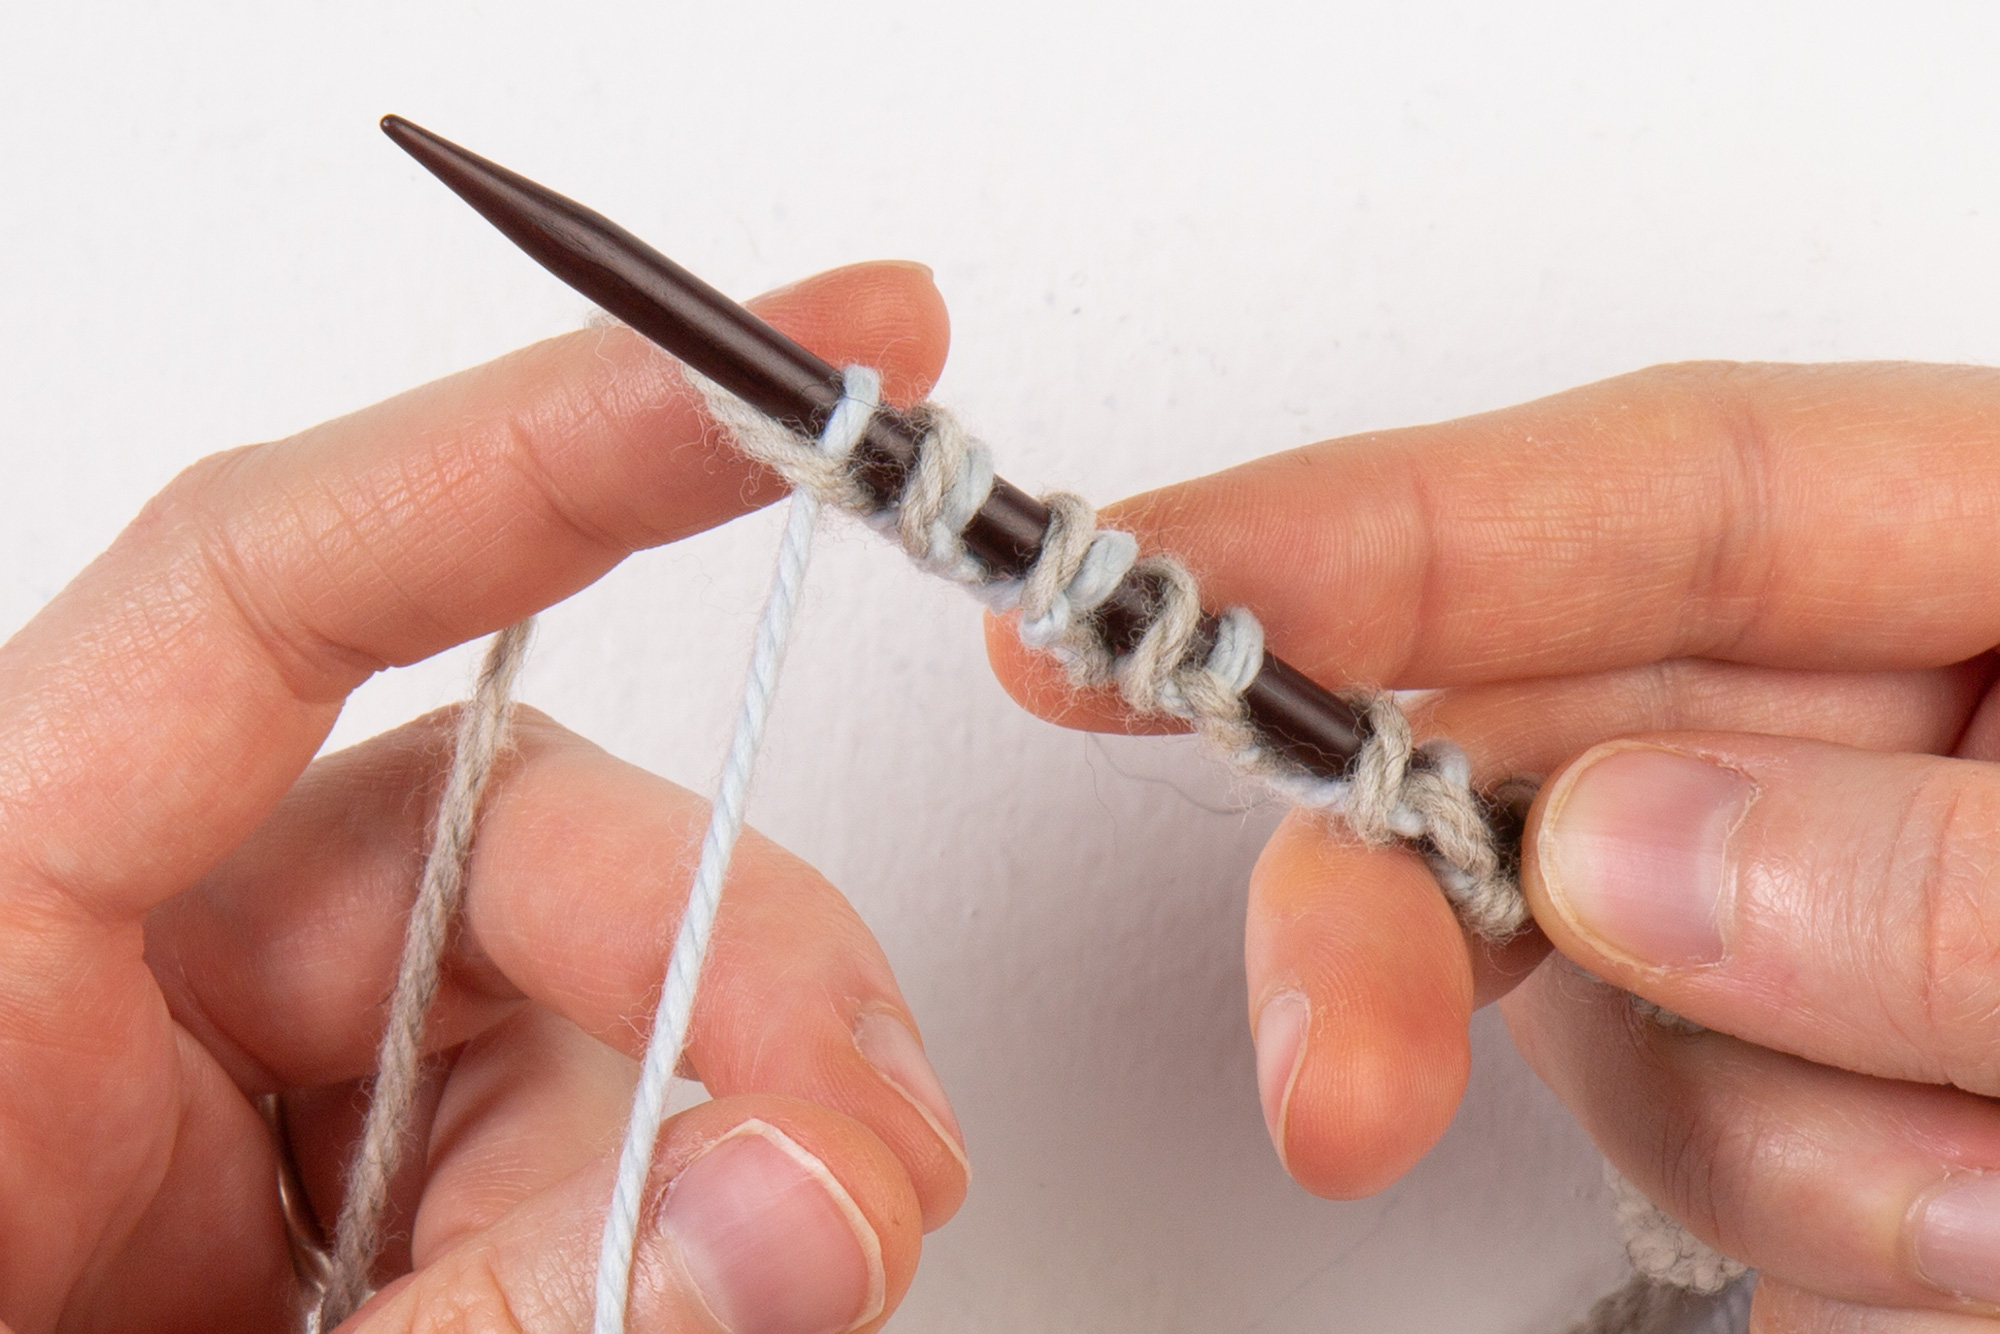
Knitting Tubular Cast On - And you don’t knit the two sides together but knit each stitch separately, 1 knit and 1 purl. Use it on necks, cuffs, bottom edges,. 302k views 15 years ago knitting techniques. Here is a simple tutorial to teach you exactly how to do it! For example, for 10 stitches, wrap the yarn around 10 times, then include a few inches extra, just in case. Wrap your yarn around your needle until you have an amount of wraps equal to the amount of stitches you need to cast on in order to approximate how long your tail end should be. It creates a tidy stretchy edge, which makes it a perfect choice for hats, cuffs, necklines, sweater bottoms, and anywhere else you need a stretchy edge. Web first, this cast on is super stretchy, making it a great cast on for ribbed edges like socks, cuffs, and sweater necks. It looks very polished and is totally worth the effort! 240k views 3 years ago. It looks very polished and is totally worth the effort! I love this cast on when starting with a 1x1 ribbing! Some are functional, some are decorative, but the tubular cast on is both functional and decorative. And you don’t knit the two sides together but knit each stitch separately, 1 knit and 1 purl. Perfect for 1x1 rib stitch. I love this cast on when starting with a 1x1 ribbing! The more you practice, the easier it. Web first, this cast on is super stretchy, making it a great cast on for ribbed edges like socks, cuffs, and sweater necks. Learn how to knit the circular tubular cast on to set up 1x1 rib. Select a waste yarn in. Web 274k views 4 years ago. Slip the slip knot onto the. It is ideal for setting up k1, p1 ribbing. Cast on with waste yarn. Second, it creates a very tidy edge for ribbed projects. Web begin by setting up your yarn as for the long tail cast on technique: Perfect for 1x1 rib stitch read the full tutorial here:. The yarn should have a similar gauge to your project yarn and a smooth texture to avoid stray fuzzies when you remove it. Web the long tail tubular cast on is a super stretchy cast. Cast on with waste yarn. Begin with a length of waste yarn. For example, for 10 stitches, wrap the yarn around 10 times, then include a few inches extra, just in case. Here is a simple tutorial to teach you exactly how to do it! Web 274k views 4 years ago. There are so many ways to cast on your knitting. 29k views 2 years ago cast on techniques for knitting. The more you practice, the easier it. (if you need an odd number of stitches, cast on half + 1 stitch.) Web the long tail tubular cast on is a super stretchy cast on that is ideal for projects, such. I love this cast on when starting with a 1x1 ribbing! It looks very polished and is totally worth the effort! Using the waste yarn, cast on half the number of stitches you need, plus one. Begin with a length of waste yarn. Perfect for 1x1 rib stitch read the full tutorial here:. The more you practice, the easier it. And you don’t knit the two sides together but knit each stitch separately, 1 knit and 1 purl. In this video, corrina ferguson demonstrates how to work this cast on method. This is a very beautiful and extremely stretchy cast on that’s great for hats for mittens. (if you need an odd number. Pull your required length of yarn. Learn how to knit the circular tubular cast on to set up 1x1 rib. Web first, this cast on is super stretchy, making it a great cast on for ribbed edges like socks, cuffs, and sweater necks. Some are functional, some are decorative, but the tubular cast on is both functional and decorative. 458k. Perfect for 1x1 rib stitch read the full tutorial here:. 302k views 15 years ago knitting techniques. You'll find the written instructions for this co here on my website: This is a very beautiful and extremely stretchy cast on that’s great for hats for mittens. 458k views 5 years ago knitting tutorials. 240k views 3 years ago. Begin with a length of waste yarn. Cast on half of the total number of stitches you need. It is specific to k1, p1 ribbing. And you don’t knit the two sides together but knit each stitch separately, 1 knit and 1 purl. For example, for 10 stitches, wrap the yarn around 10 times, then include a few inches extra, just in case. Select a waste yarn in a contrasting color to your project yarn (so it will be easy to see). Web first, this cast on is super stretchy, making it a great cast on for ribbed edges like socks, cuffs, and sweater necks. It is ideal for setting up k1, p1 ribbing. You work no turning row, and you usually work a lot fewer rows before bringing the both edges together. Here is a simple tutorial to teach you exactly how to do it! Web begin by setting up your yarn as for the long tail cast on technique: Wrap your yarn around your needle until you have an amount of wraps equal to the amount of stitches you need to cast on in order to approximate how long your tail end should be. Second, it creates a very tidy edge for ribbed projects. It creates a tidy stretchy edge, which makes it a perfect choice for hats, cuffs, necklines, sweater bottoms, and anywhere else you need a stretchy edge. This cast on leaves a nice, stretchy edge.Stretchy Cast On How to Knit the Long Tail Tubular Cast On Sister

Knitting tutorial Tubular cast on for 1x1 rib YouTube
![Tubular Cast On for Super Stretchy Knits [3 Easy Rows]](https://knitting.com/wp-content/uploads/2022/12/FD25BFC9-9EF0-4F1E-90CF-0DB709C3D39D-edited-2048x1390.jpg)
Tubular Cast On for Super Stretchy Knits [3 Easy Rows]
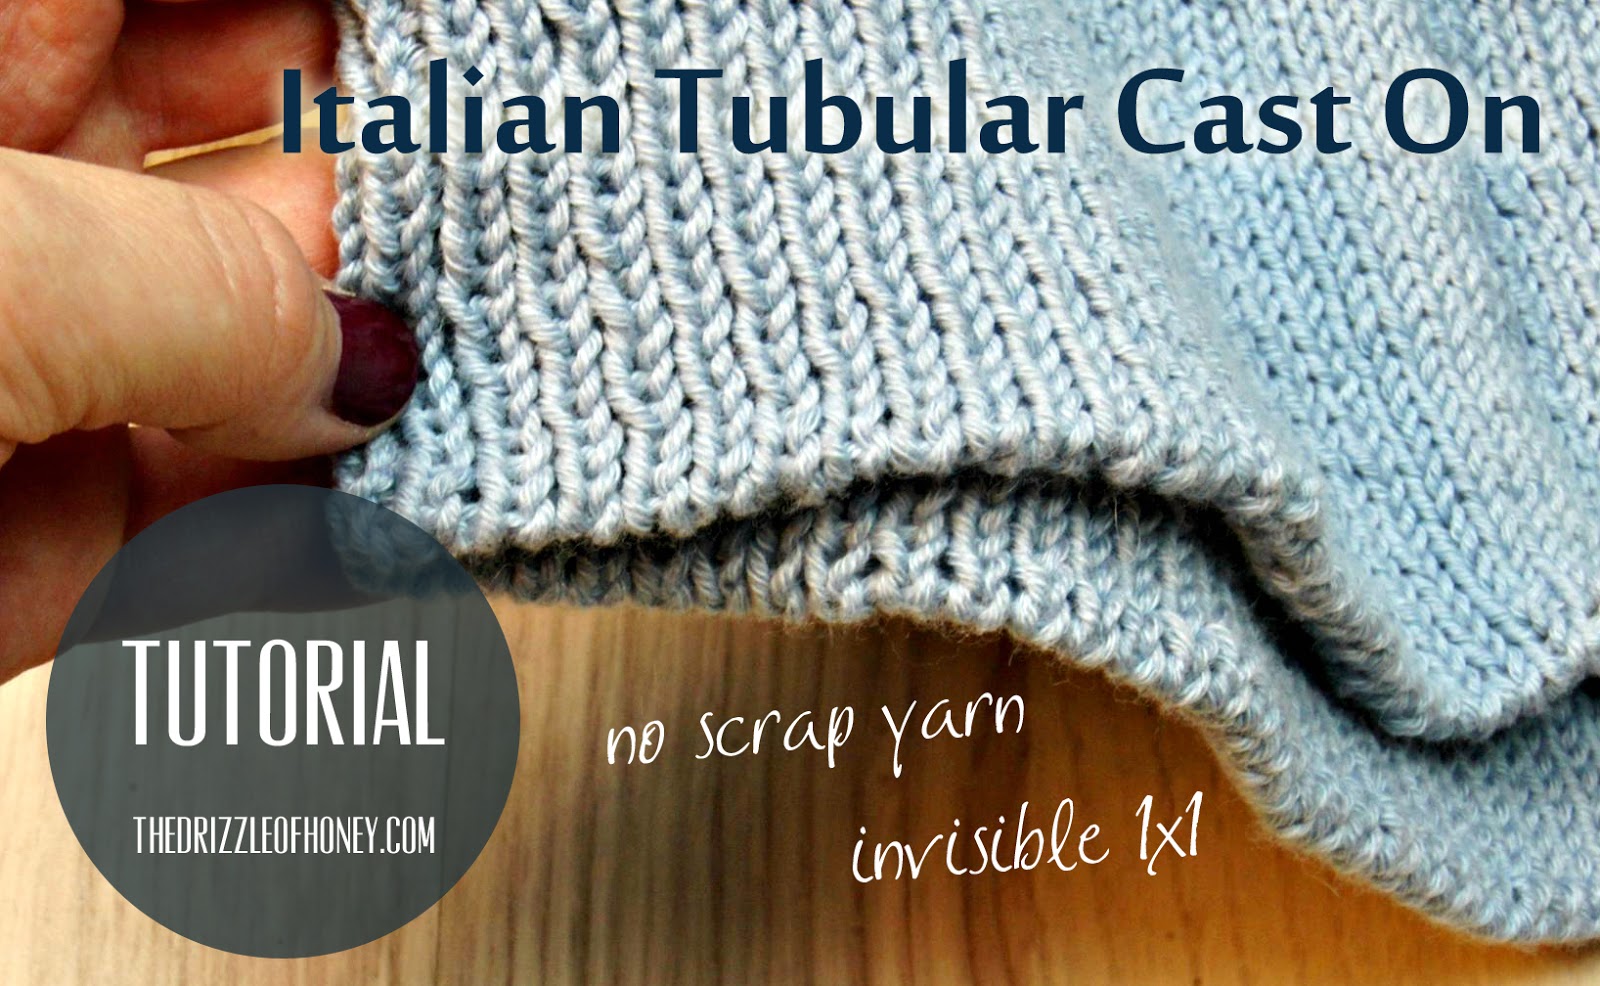
The Drizzle of Honey Tutorial Italian Tubular Cast on
Knitting Tutorial Neat Tubular CastOn Hardybarn Designs

How to Knit a YarnoverMethod Tubular Caston Interweave

How to Knit a YarnoverMethod Tubular Caston Interweave

How to Knit the Tubular Cast On YouTube
Tutorial Long Tail Tubular Cast On KnitPicks Staff Knitting Blog
Tutorial Long Tail Tubular Cast On KnitPicks Staff Knitting Blog
I Love This Cast On When Starting With A 1X1 Ribbing!
Web The Tubular Cast On Is Ideal For Projects That Begin With Ribbing.
In This Video, Corrina Ferguson Demonstrates How To Work This Cast On Method.
It Looks Very Polished And Is Totally Worth The Effort!
Related Post:
